
SPRING EDIT
New Arrivals


Pink Puff Sleeve Dress
Regular Price$36.99


Black Floral Midi Dress
Regular Price$36.99


Lilac Cowl Neck Top
Regular Price$29.99


Beige Button-Front Sweater
Regular Price$38.99


White Floral Maxi Dress
Regular Price$56.99

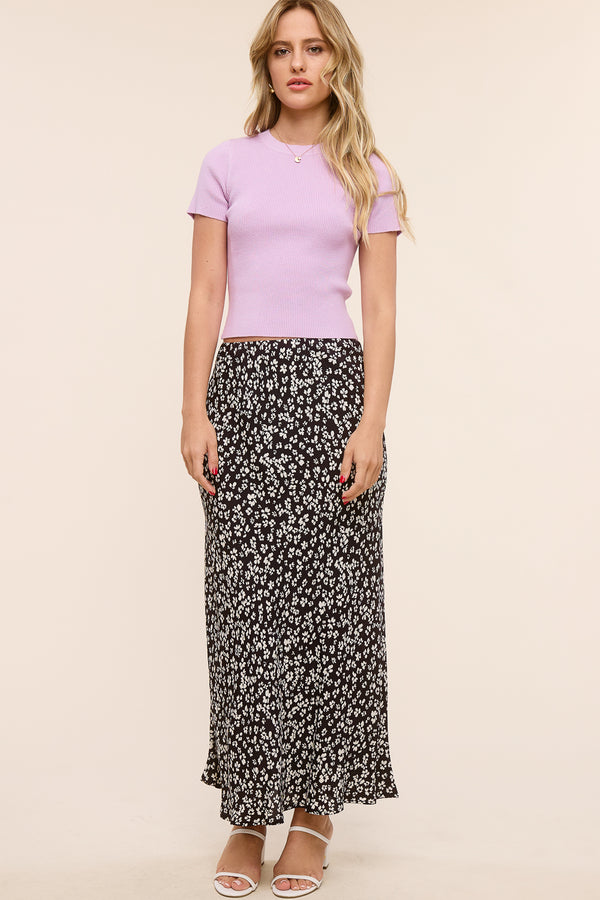
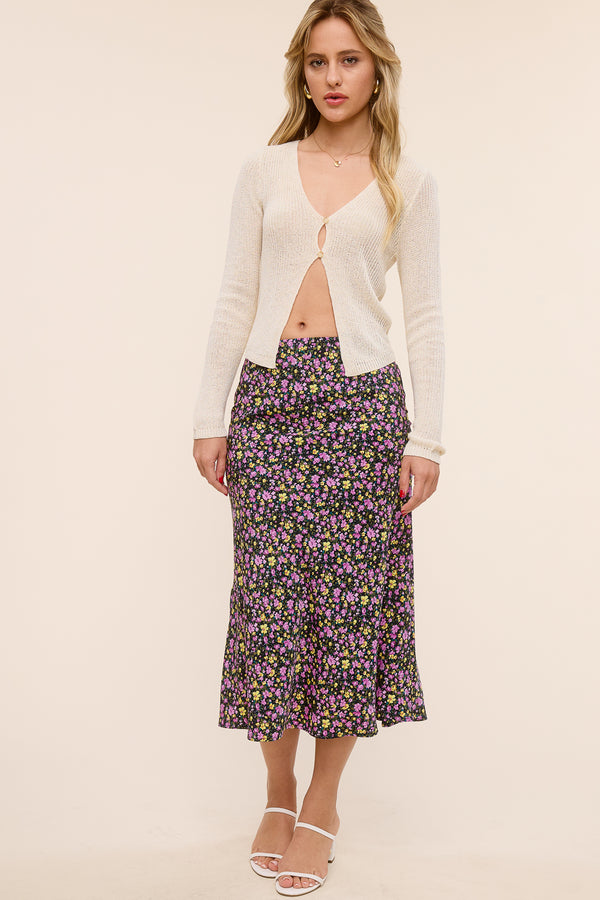
Black Floral Midi Skirt
Regular Price$36.99


Double Button Flare Denim
Regular Price$89.99


Lavender T-Shirt
Regular Price$39.99


White One-Shoulder Top
Regular Price$36.99


White Knit Sweater
Regular Price$46.99

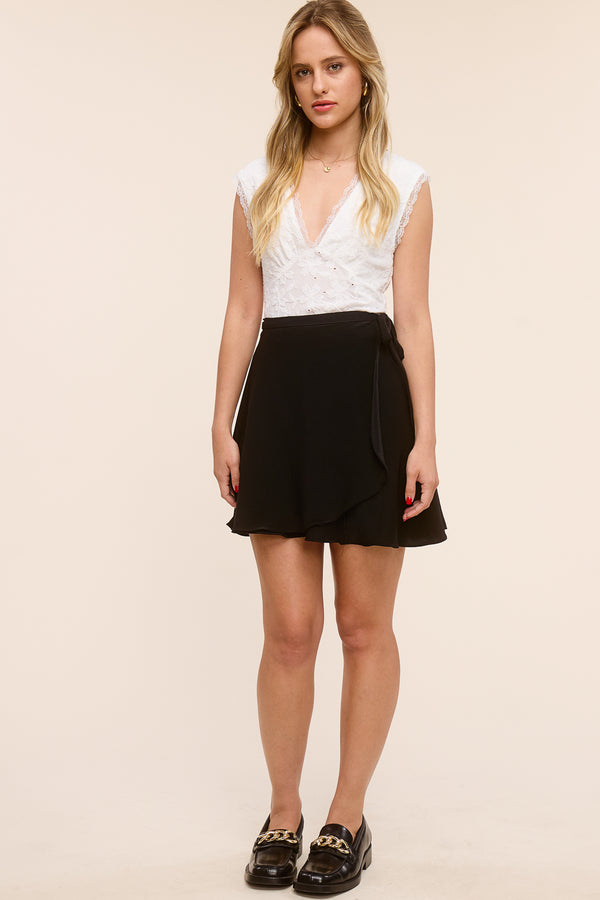
Black Wrap Skirt
Regular Price$39.99


Green Linen Pants
Regular Price$46.99

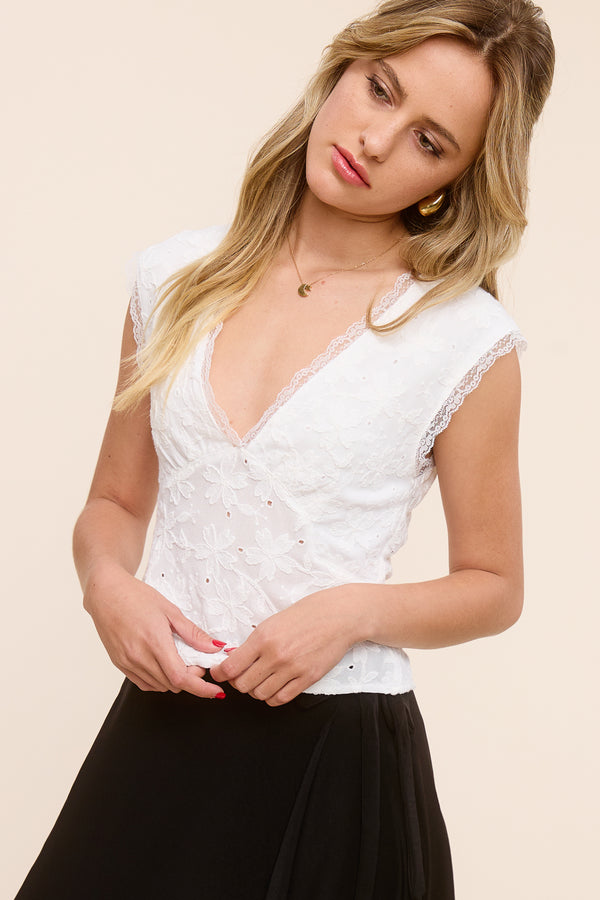
White Lace Trimmed Blouse
Regular Price$46.99

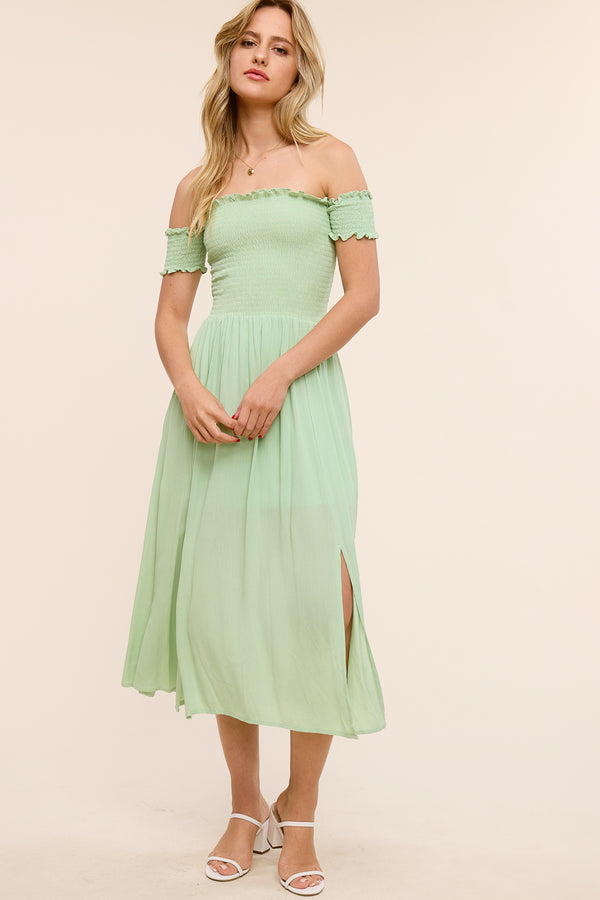
Green Off-The-Shoulder Midi Dress
Regular Price$36.99

Purple Floral Midi Skirt
Regular Price$44.99


Green Knit Tank Top
Regular Price$26.99


White Short Sleeve Button Down
Regular Price$29.99


Cream Watercolor Tank Top
Regular Price$36.99


Black Textured T-Shirt
Regular Price$24.99


Blue Floral Lace Trimmed Blouse
Regular Price$39.99


Coral Blouse
Regular Price$49.99


Cream and Black Striped Sweater
Regular Price$49.99


Red Button Front Tank Top
Regular Price$19.99


Taupe Halter Dress
Regular Price$59.99

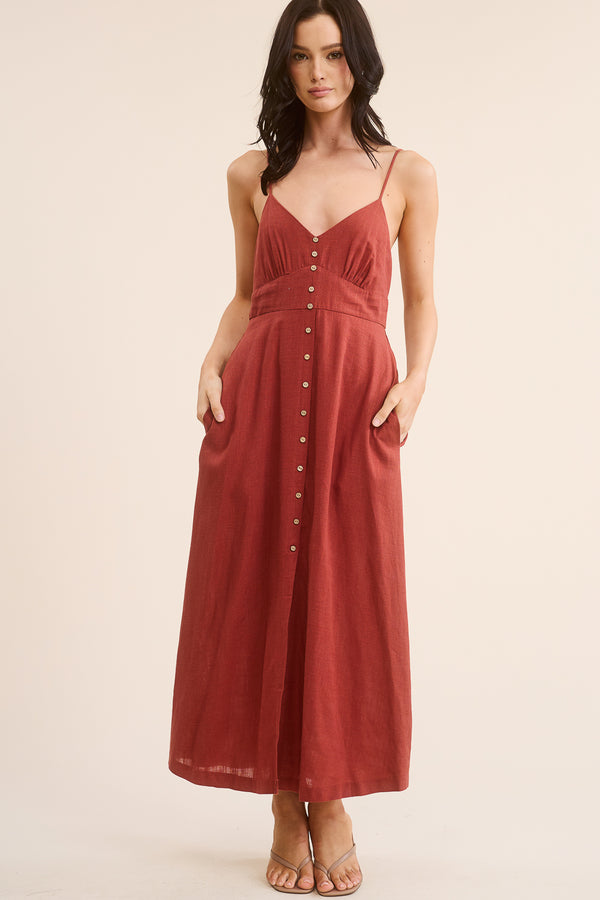
Red Button Front Maxi Dress
Regular Price$59.99


Off-White Trouser Shorts
Regular Price$56.99


Pink Floral Tie-Front Tank Top
Regular Price$44.99


Cream Puff Sleeve Top
Regular Price$54.99

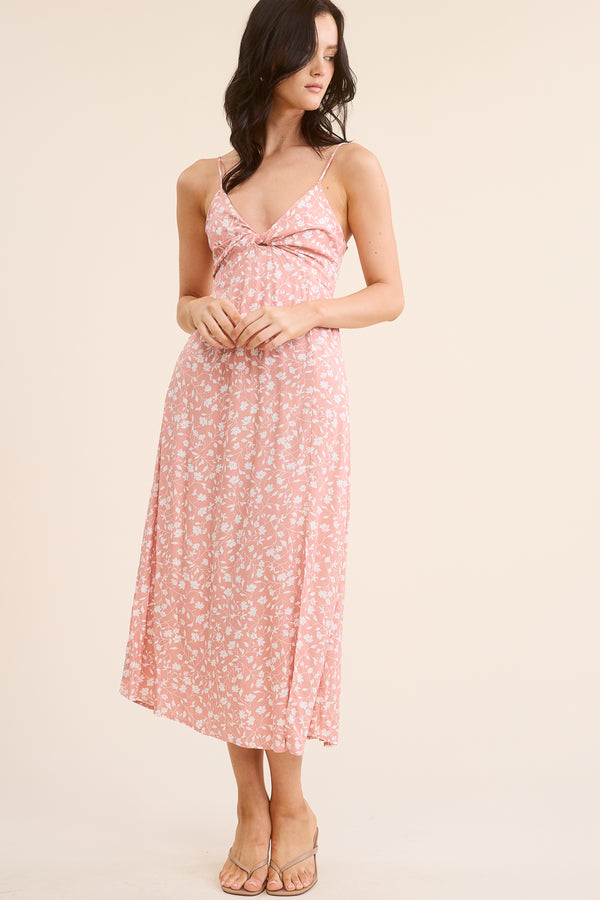
Pink and White Floral Midi Dress
Regular Price$49.99


Yellow Puff Sleeve Dress
Regular Price$56.99


Pink One-Shoulder Top
Regular Price$39.99


Yellow Sweater
Regular Price$39.99


Sage Floral Maxi Dress
Regular Price$56.99


Black Linen Trouser
Regular Price$55.99

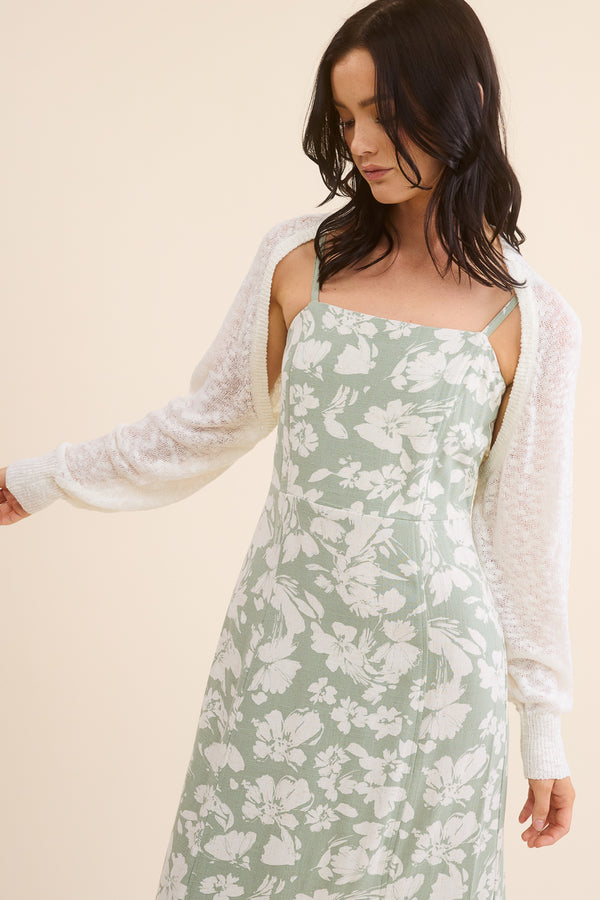
White Shrug
Regular Price$34.99


Off-White Blazer
Regular Price$89.99


Black Cropped T-Shirt
Regular Price$38.99


Cream Patterned Linen Pants
Regular Price$39.99


Black Twist Knot Top
Regular Price$36.99


Cobalt Tank Top
Regular Price$39.99


White Linen Vest
Regular Price$32.99


Teal Floral Maxi Skirt
Regular Price$39.99


White Strapless Midi Dress
Regular Price$65.99


White Knit V-Neck Tank Top
Regular Price$45.99


Cropped Navy Striped Button Down
Regular Price$46.99


Light Wash Cargo Denim
Regular Price$75.99


Blue Floral Puff Sleeve Top
Regular Price$44.99


Black Short Sleeve Button Down
Regular Price$46.99
No Rest For Bridget + OPT San Francisco
Now Open on Fillmore St


Store Locations
Visit our stores for full selections
OPT
Elevated Fashion & Home Decor
